
Live Migration of virtual machine in SCVMM 2012 R2 :-
Part 1 - Create a SMB 3.0 Share
Part 3 - Assign file share
Part 4 - Live migration of VM
On the scvmm machine, open the SCVMM console click on Fabric/Storage. Then right click on the “Providers”
& select “Add Storage Devices” :-
& select “Add Storage Devices” :-

On the select provider type select “Windows-based file server”:-

Specify the name of the SMB server, select the “Run As Account” & click next to continue:-

Let the storage be discoverable then click next to continue:-

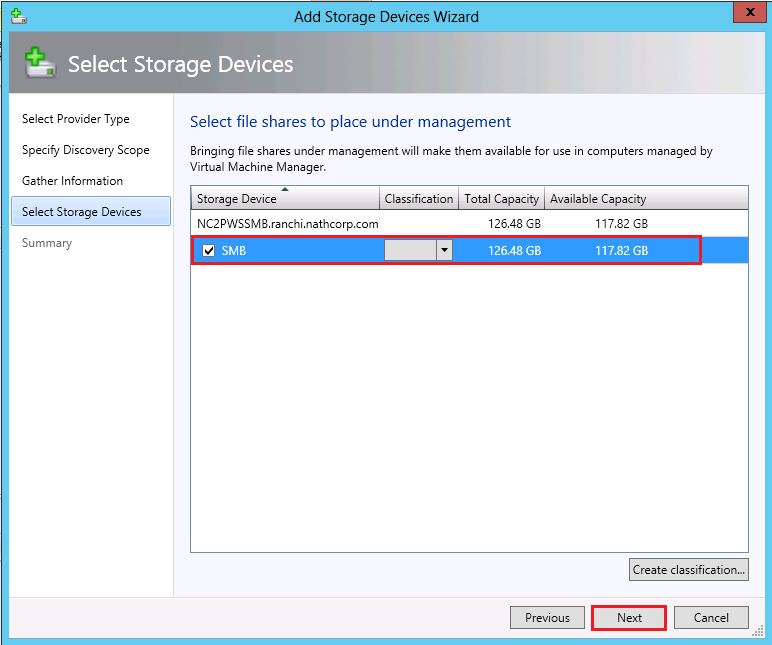
Check the SMB server & click next to continue:-
Click on Finish to end the Wizard:-

In SCVMM console, Go to Fabrics/Providers – the SMB server should be listed here:-

By following this article we have added permission on the file server location in SCVMM now our next goal is to assign this file share to Hyper-v Hosts.
No comments:
Post a Comment